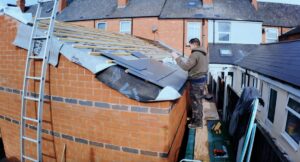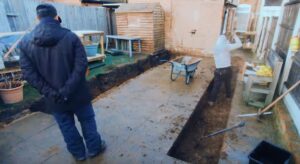
Part 15 of the Master Garden Office Build Series
Construction Plastering: Analyzing the Interior Finish of a Garden Studio (Day 18)
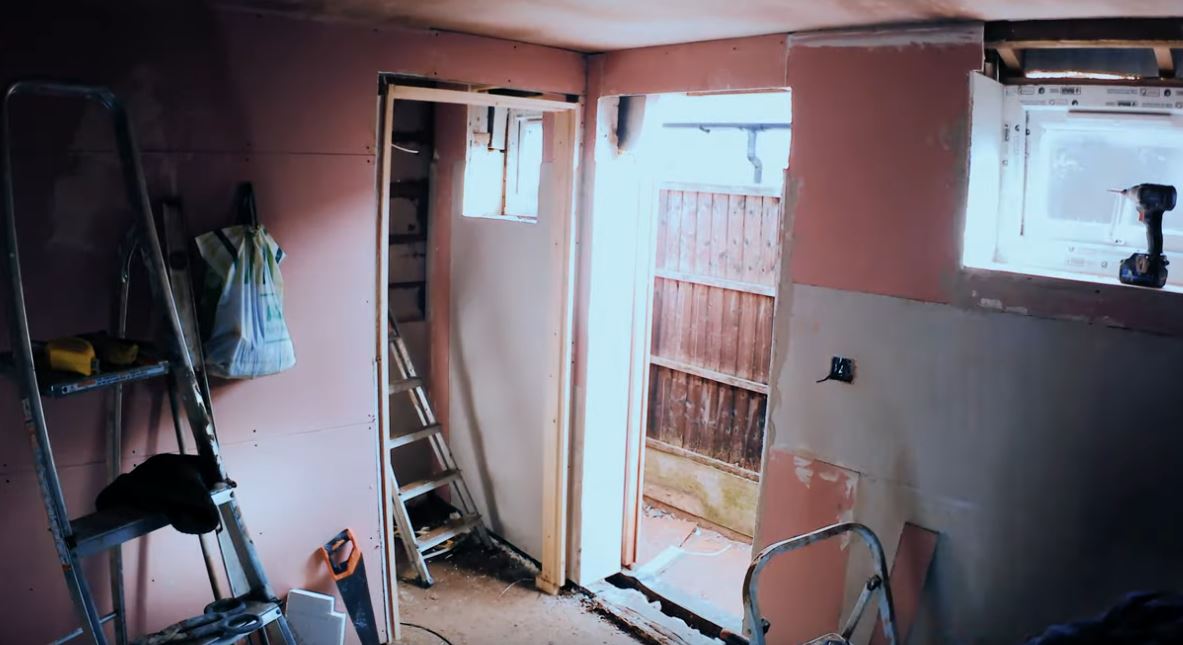
In this stage of the Home Office Extension project, we transitioned from structural framing to interior finishing. This report documents the technical challenges of the skimming process, the calculations behind material consumption, and the operational decisions made regarding plaster thickness and surface durability.
Project Technical Specifications:
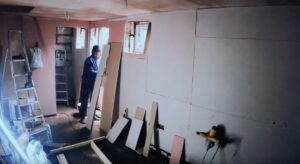
- Phase: Interior Finishing / Skimming
- Space Dimensions: 7m x 3m (21sqm floor area)
- Materials Allocated: 7 Bags of Multi-Finish Skimming Plaster
- Surface Base: Standard 12.5mm Plasterboard with mesh-taped joints
- Timeline: 48-Hour Multi-Session Application
The Skimming Process: Craftsmanship vs. Operational Efficiency
Plastering (or skimming) is the critical final layer that determines the interior aesthetic and acoustic seal of a creator studio. In this session, the focus was on achieving a professional-grade finish on the plasterboard surfaces. As an operator, my priority was ensuring that the finish met the high standards required for video production backdrops, where lighting can easily reveal surface imperfections.
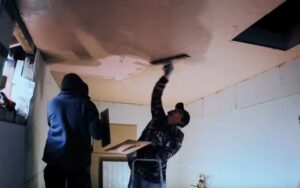
Analyzing Plaster Thickness: The 1-Coat vs. 2-Coat Decision
Standard UK building practice often recommends two thin coats of plaster to ensure a perfectly level surface. However, during this build, the decision was made to apply a single, significantly thicker layer.

From an operational standpoint, this raises a question of Technical Debt:
- Efficiency: A single thick coat reduces labor time and moisture introduction.
- Risk: A single coat may lead to uneven drying and visible “shading” in the texture.
- Observation: Upon drying, the single-coat approach revealed slight inconsistencies that would require corrective sanding or high-build primercosts that must be weighed against the initial time saved.
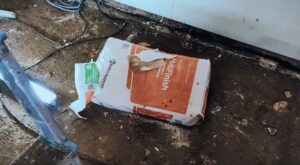
Material Consumption: Fact or Folly?
To maintain transparency in this Garden Office Build, I analyzed the material usage against industry benchmarks. We used 7 bags of plaster for a 7m x 3m room.

The Calculation:
Standard coverage for a bag of multi-finish is approximately 10m² at 2mm thickness. Our total wall and ceiling area exceeded 50m², suggesting that 7 bags were on the edge of “insufficient” for a traditional two-coat finish. This data confirms that the application was optimized for speed, resulting in a thinner overall profile than standard residential specifications.
Structural Challenges in Sloped Environments
Building a studio on a sloped garden site introduces complexities in door frame alignment and floor-to-wall junctions. In this phase, we had to decide between adhering to “perfect level” or “natural slope.”
The Operator’s Choice: We prioritized the structural level for the door frames to prevent future mechanical failure of the hinges, while allowing for minor aesthetic compromises in the baseboard alignment. This is a classic example of prioritizing operational longevity over surface-level perfection.
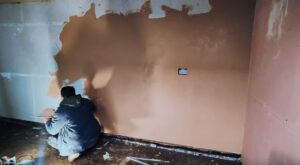
Quality Control: Perception vs. Reality
While a casual observer might see a “finished wall,” a professional eye sees the nuances of the drying process. As the moisture leaves the plaster, it reveals the true quality of the craftsmanship. In a studio environment, these nuances matter because professional studio lighting (Key, Fill, and Backlights) will emphasize any lack of flatness.
Lessons for the Creator-Builder
The primary takeaway from Day 18 and 19 is the balance between expedience and excellence.
- Accountability: Always verify bag counts against square footage to ensure your builders aren’t over-extending the material.
- Acoustics: Remember that plaster thickness contributes to the mass of the wall, which directly impacts sound isolation.
- Resilience: Embrace the minor imperfections of a DIY-led build; they are part of the documentation of growth.
In Summary:
The interior finish is now 90% complete. While we pushed the limits of material consumption and coat thickness, the studio is structurally sound and ready for the next phase: Painting and Acoustic Treatment.
Welcome to Episode 18 of the ongoing saga of my studio build in the garden. Day 18 and 19 have been a whirlwind of plastering adventures, spanning multiple sessions due to unforeseen hurdles. Join me as I delve into the intricate world of plastering and reflect on the nuances of craftsmanship versus expedience.Construction Plastering
The journey of building extends far beyond physical construction, delving into the realms of human nature, perception, and resilience. Through trials and tribulations, a narrative unfolds, revealing the intricate dance between expectation and reality. Join me as we navigate the labyrinth of building, one misstep at a time.Zulftalks.com