Inside Wall Finishing idea for Tiny Home office 14
Welcome back to another episode of our home office build series! Today, we’re diving into days 16 and 17, where we focused on the internal aspects of the project. Over these two days, we tackled crucial elements like partitioning, electrical fittings, and plasterboarding.

Partitioning Plans Unveiled
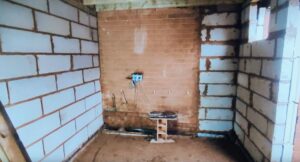
Initially, we had planned for a two-section split in the middle of the office space. However, upon realizing the limitations of space post-wall construction, we opted for a single partition design. This partition will house a compact bathroom area, complete with plumbing fixtures and electrical fittings.
Electrical and Plumbing Preparations
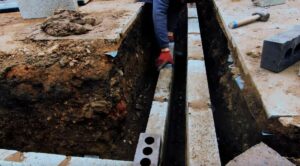
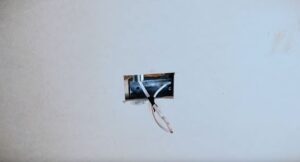
During these episodes, we witnessed the installation of electrical wirings for lighting and plug units. The builder, with prior experience as an electrician, ensured a meticulous first fit of the electrical components. Additionally, preparations were made for plumbing fixtures, including a designated spot for drain pipes and connections for hot and cold water.
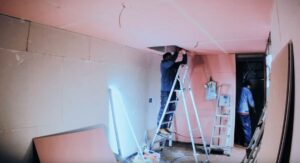
Plasterboarding Progress Home Office Build
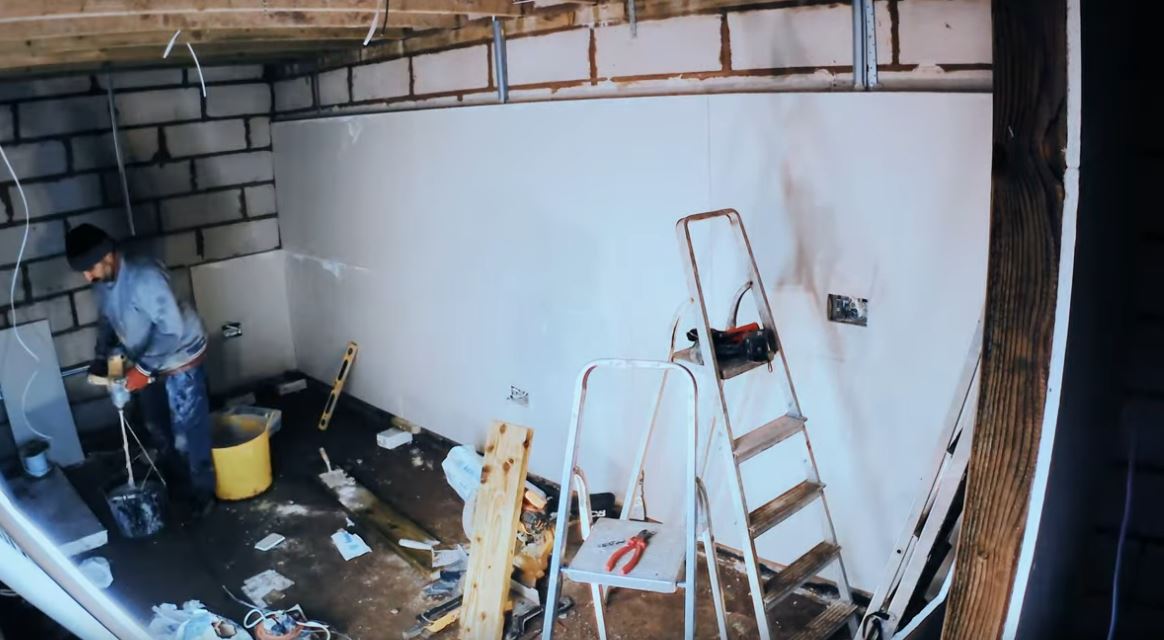
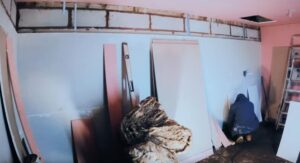
One of the highlights of these episodes was the plasterboarding process. We explored various options for plasterboard types, considering factors like insulation, moisture resistance, and fire retardancy. Ultimately, we opted for fire-resistant plasterboards, given the proximity to potential heat sources like microwaves and kettles.
The Debate Home Office Build
When it came to attaching the plasterboards to the walls, we had to decide between dabbing and bonding. Dabbing, using plasterboard adhesive, offered advantages like creating an air gap for insulation and providing a flat surface for skimming. This method was preferred over bonding for its ease of application and insulation benefits.
Skimming for Smooth Finishes
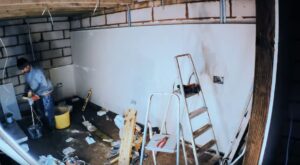
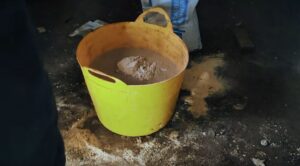
Following the plasterboarding, the next step involved skimming the walls to achieve smooth finishes. Skimming, done in multiple layers, required meticulous attention to detail to ensure evenness and adherence. Despite some minor concerns about thin skim layers, the overall progress was promising.
Reflecting on Progress and Challenges
As the project progresses, we’ve encountered both successes and challenges. While the builders demonstrated expertise in certain areas like electrical work, there were instances of oversight, particularly in ensuring precise fittings and consistent plaster thickness. However, with each phase of the project, we’re gaining valuable insights into the construction process.
Looking Ahead Home Office Build
With the plasterboarding complete, our focus now shifts to the next stages of the project, including skimming, fitting windows, and finalizing interior fixtures. Stay tuned for upcoming episodes as we continue to document the journey of transforming this space into a functional home office.
In Summary
In these latest episodes of our home office build series, we delved into the intricate details of internal construction. From partitioning and electrical fittings to plasterboarding and skimming, each step brought us closer to realizing our vision for the space. Despite challenges along the way, progress continues, and we’re excited to see the project evolve in the episodes to come.Zulftalks.com